

Setting up your first job
A job is the core unit of work in True Site Solutions. It ties together a client, an address, the services being performed, who's assigned, and everything captured in the field. This guide walks through creating one from scratch, assigning it, and seeing it through to a finished report.
1. Create the job
From the Jobs board, click New Job. Enter the client and project, then the site address. This is what shows up on the operator's map and on the final report.
2. Choose services
Attach one or more services to the job: SWPPP Inspection, BMP Maintenance, Site Cleanup, and so on. Each service links to a default SOP template, so the right workflow is already queued up for the operator once the job is scheduled.
3. Assign an operator and schedule it
Pick an operator from your team and set a scheduled date. The job moves onto the Schedule board automatically, where you can drag it to a different day or operator later.
4. What the operator sees
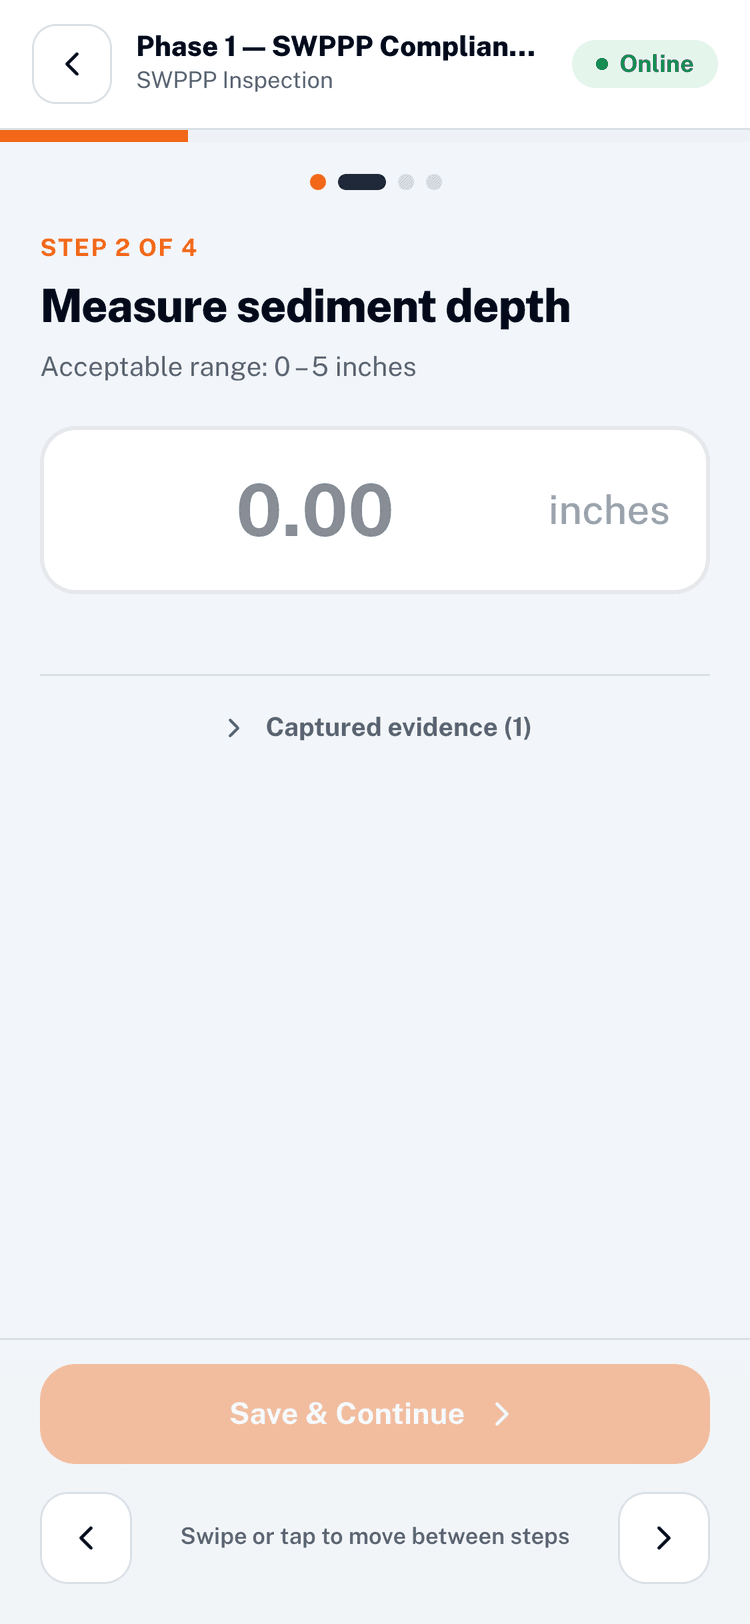
On the scheduled date, the job appears at the top of the operator's My Tasks list on their phone. They open it, work through each step of the SOP (pass/fail checks, measurements, required photos and signatures) and everything is saved to the job as they go, even offline.
5. Review evidence and the report
Once every required step is complete, the operator submits the job and a branded PDF report generates automatically. You'll find it under the job's Reports tab, alongside the photos, notes, and signatures captured along the way, ready to download or share.