
Managing your team & crews
True Site Solutions organises people into two layers: members (individuals in your org with a role) and crews (named groups you assign to jobs). This guide covers inviting members, setting roles, building crews, and bulk-importing your field team via CSV.
1. The Members tab
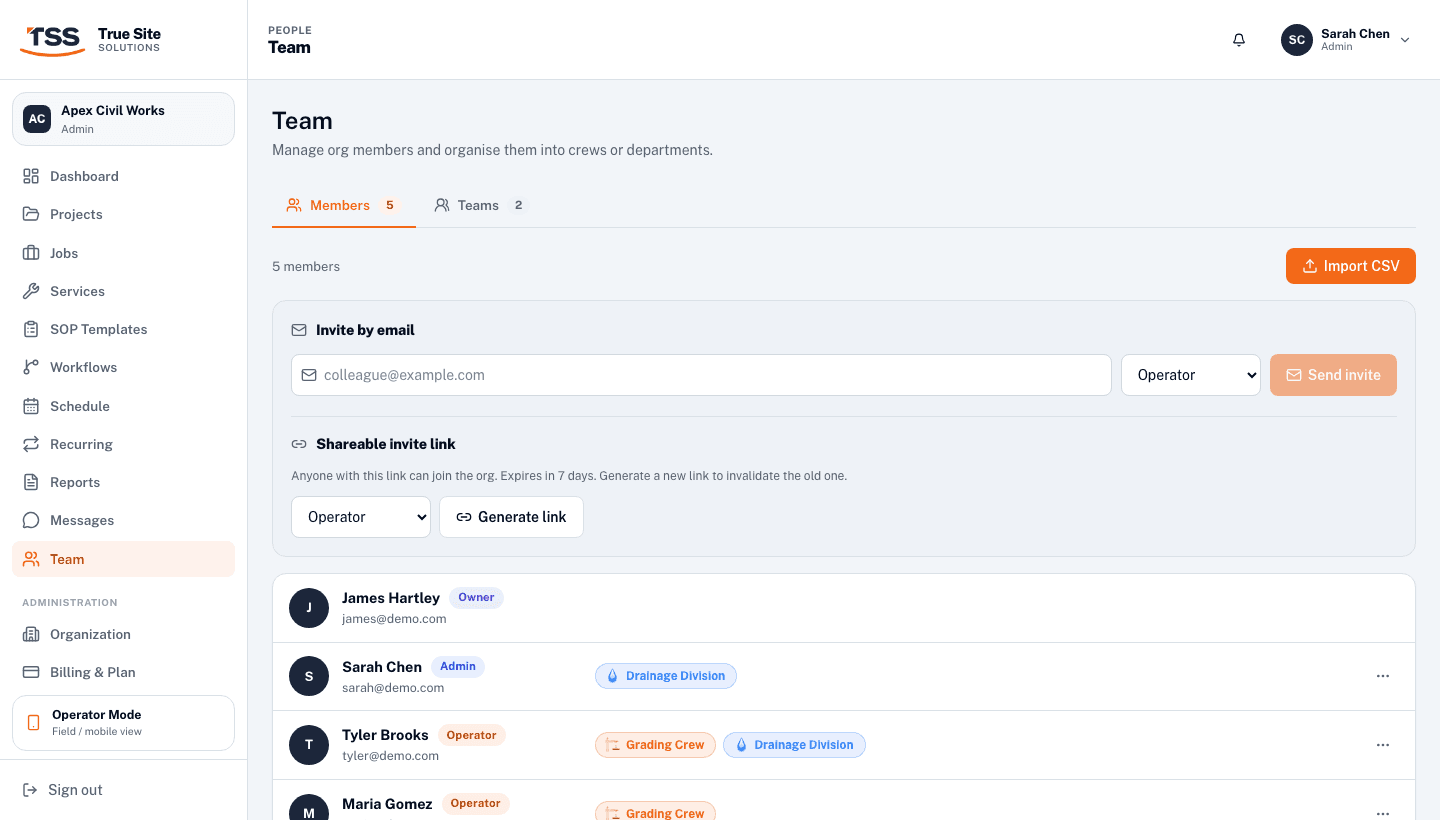
Navigate to Team in the left sidebar. The Members tab lists every person in your organization, showing their avatar, name, role badge, and which crews they belong to. Admins and Owners see a ⋯ menu on each row to change the person's role or remove them from the org.
2. Roles & permissions
Every member has exactly one role. The role determines what they can see and do across the platform.
3. Inviting members
There are two ways to add people to your org, both available in the invite panel below the member list.
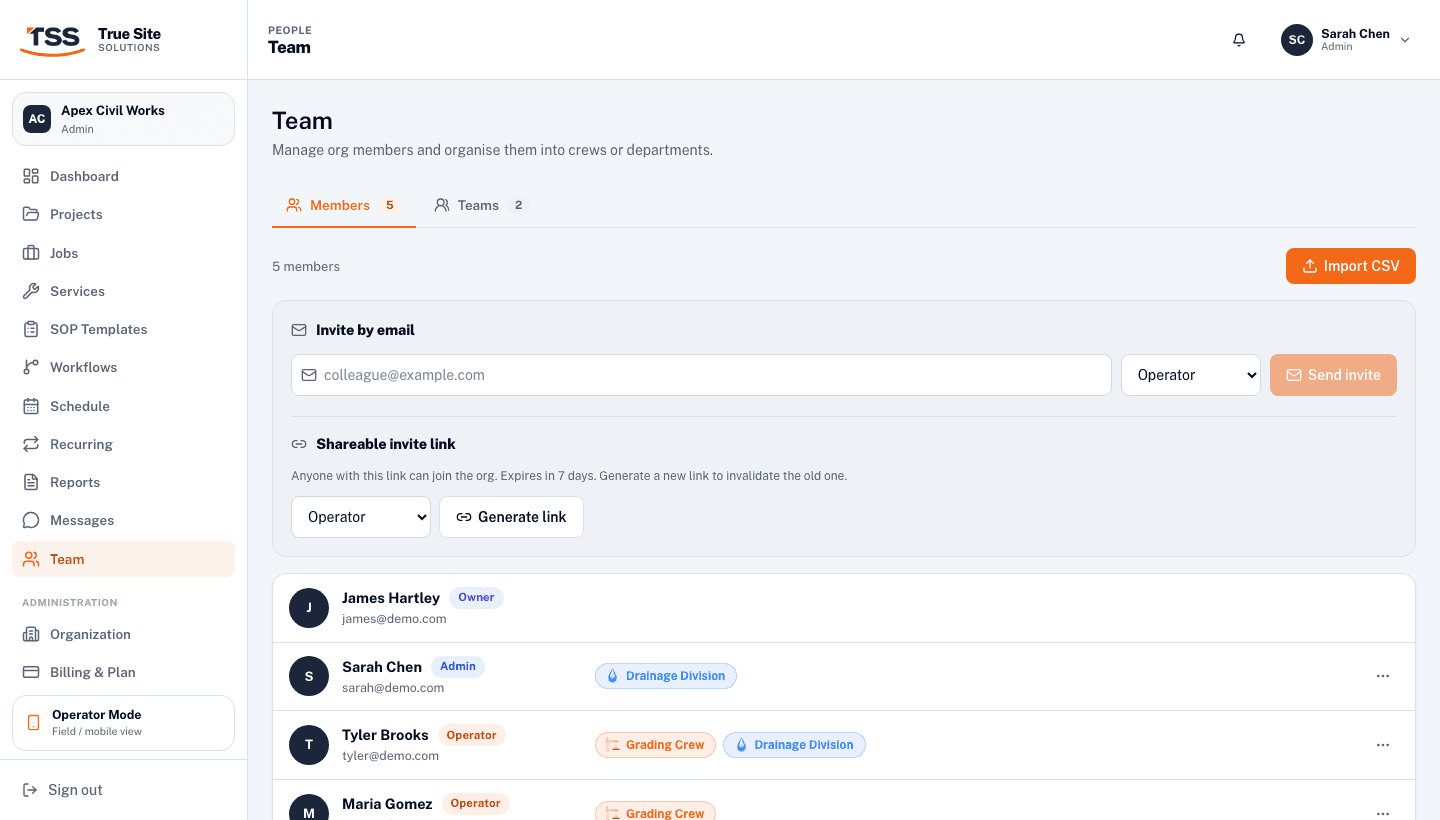
Enter an email address and pick a role, then click Send invite. The recipient gets a link that creates their account and drops them straight into your org. Pending invites are listed below the form; you can copy the link, resend, or revoke at any time. Invites expire after 7 days.
Generate a role-specific link and share it however you like: SMS, WhatsApp, a QR code on a site noticeboard. Anyone who clicks it signs up and joins at that role automatically. You can regenerate or revoke the link at any time from the same panel.
4. Crews
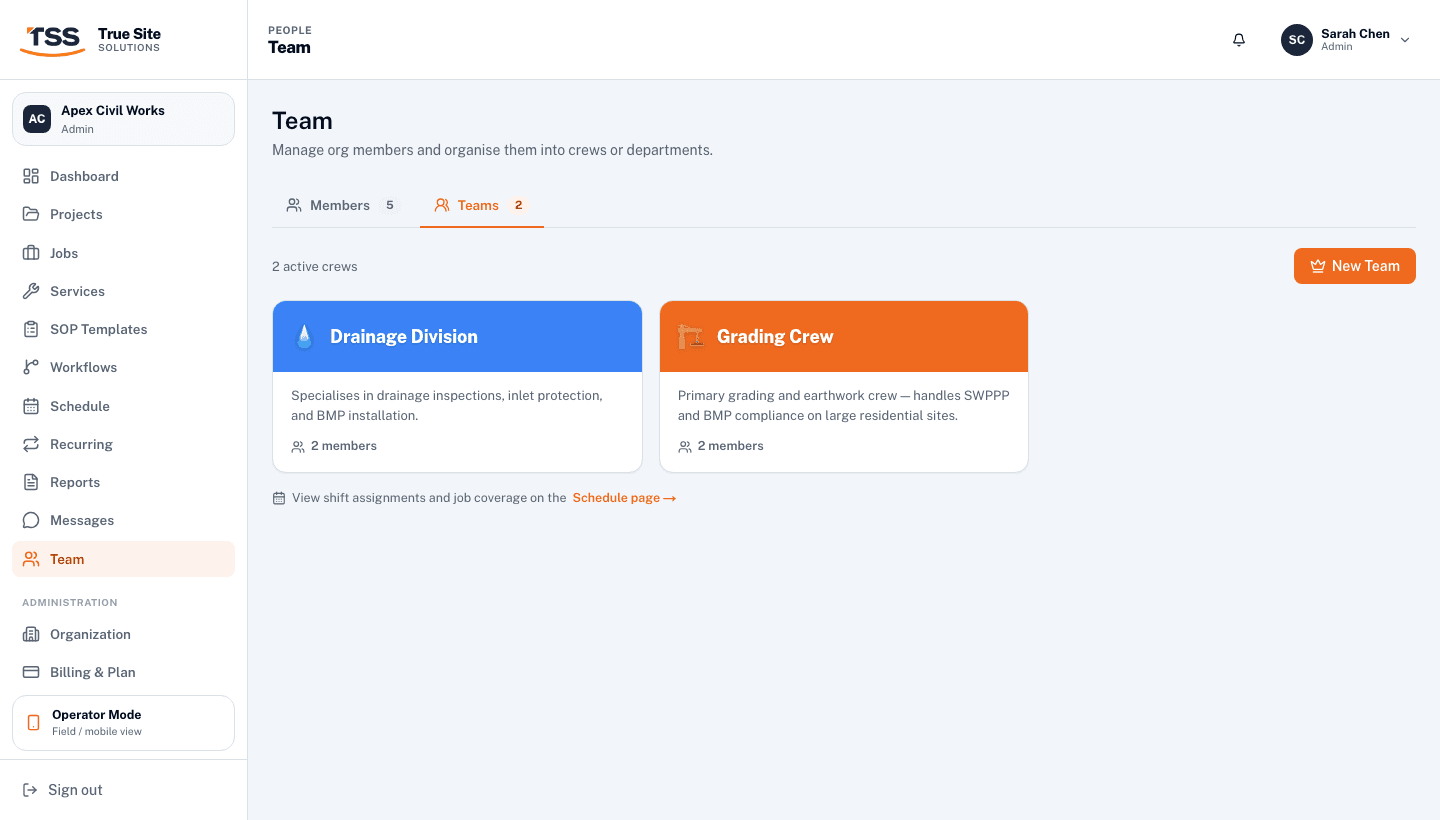
Switch to the Teams tab to see your crews. Each crew has a colour, an emoji, and a member count. Click any card to open the drawer where you can rename it, change its colour, add or remove members, and set per-member crew roles (Leader vs Member). Crews with no active jobs can be archived to keep the board tidy.
5. CSV bulk import
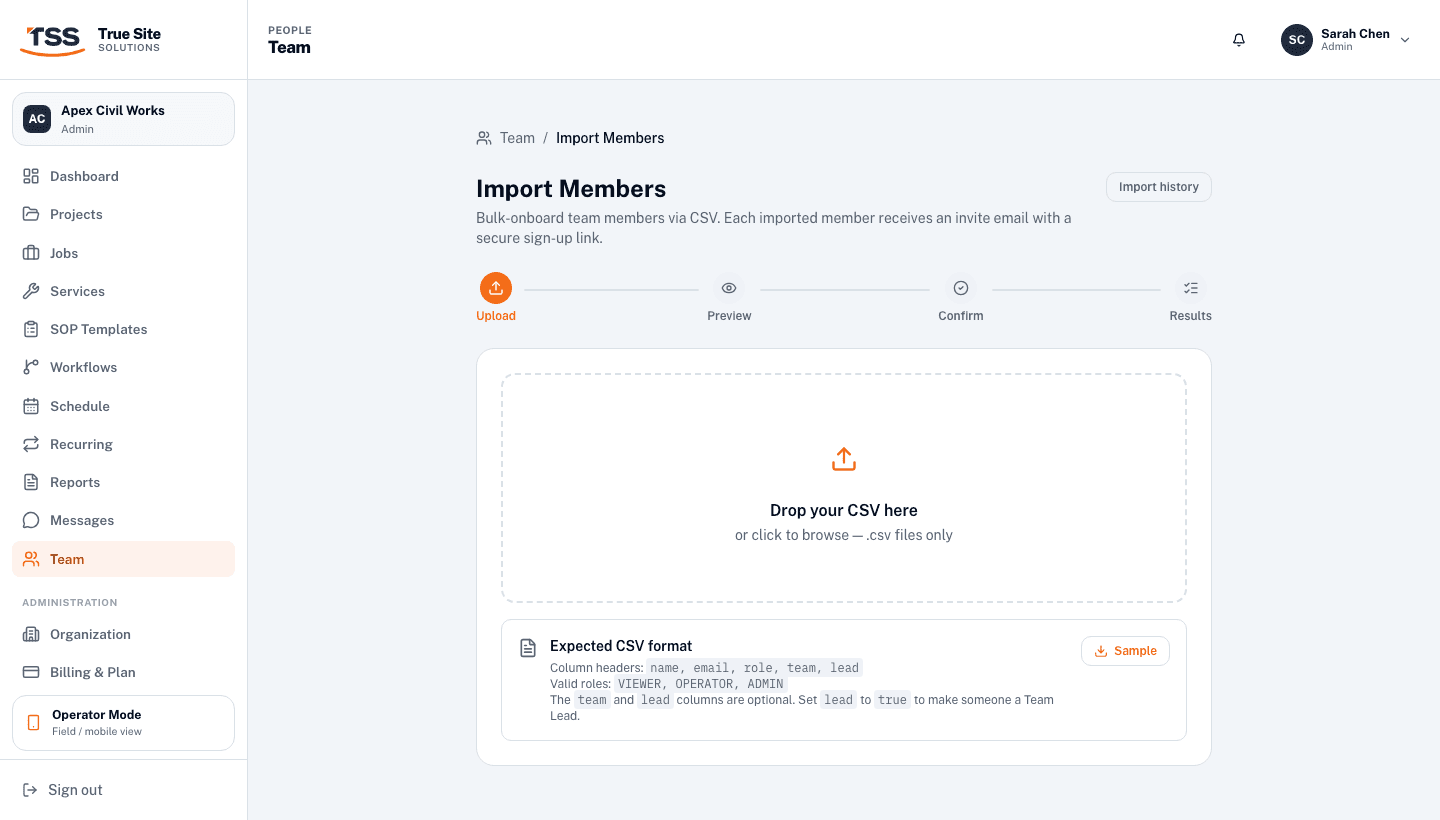
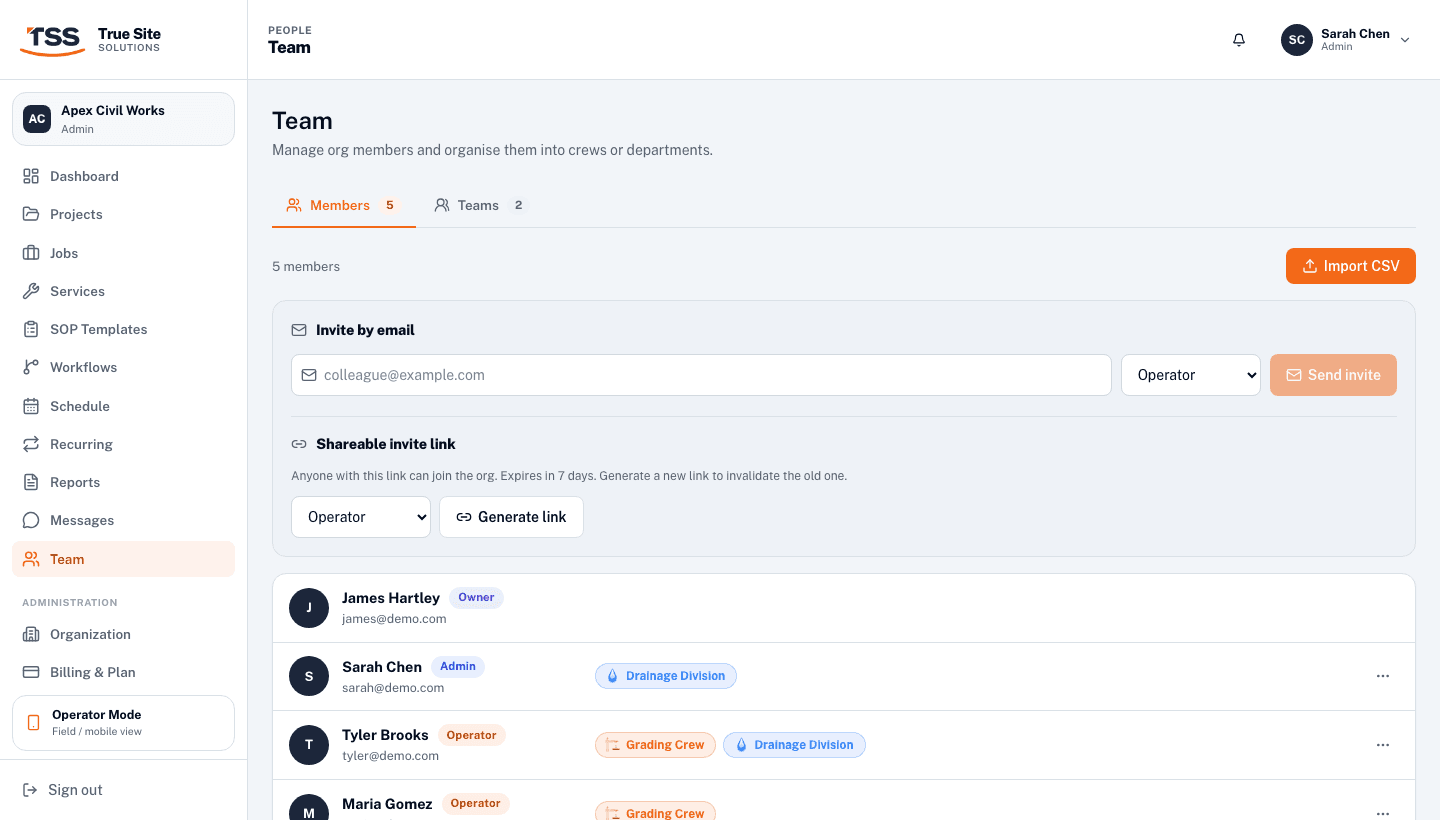
If you're onboarding a larger crew, click Import CSV in the Members tab. The import workspace lets you upload a spreadsheet, map your column headers to the expected fields (name, email, role), preview any validation errors row by row, and then submit. Accounts are created and invite emails are sent in a single batch, with no copy-pasting required.